There are multiple methods for obtaining a laptop’s serial number. Let’s take a closer look at each of them. How to find out the serial number of a laptop Or PC
Method #1: Command Line

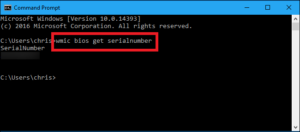
You can use the WMIC command in the Windows command prompt to get the serial number of your laptop. Here’s how to do it:
- Press the key combination Win + R;
- In the window that appears, type cmd and press Enter;
- At the command prompt, type the following command and press Enter: “wmic bios get serialnumber” without the quotes.
This command will show the BIOS serial number, which is usually the serial number of your laptop.
Note: Remember to run Command Prompt with Administrator rights if the command does not work. This can be done by right-clicking on the Command Prompt icon and selecting “Run as administrator”.
Also note that the WMIC feature is only present in Windows 7, 8, 10 and 11.
Method #2: PowerShell

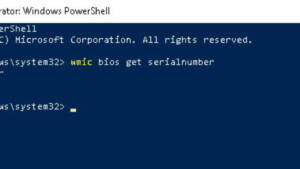
You can use the PowerShell program (called Terminal in localized Windows) to find out your laptop’s serial number. For this:
- Press the Win + X key combination, then select Terminal or Terminal (Administrator);
- In PowerShell, type the following command and press Enter: “Get-WmiObject -Class Win32_BIOS | Select-Object SerialNumber” without quotes.
As in the previous case, you will be shown the BIOS serial number, which is the serial number of the laptop.
Method No. 3: BIOS/UEFI

To view the laptop serial number in BIOS/UEFI, follow these steps:
Reboot your laptop;
- When the initial screen appears (usually with the manufacturer’s logo), press the key to enter the BIOS/UEFI. Most often this is the F2, F10, F12 or Delete key. The specific key may vary depending on your laptop manufacturer;
- After entering the BIOS/UEFI, look for system information. The serial number is usually located in the System Information or Main section;
- Write down the serial number.
Be careful: Do not change other settings in the BIOS/UEFI unless you are sure of what you are doing. Incorrect settings can lead to problems booting your laptop.
Method #4: Check the stickers on the laptop

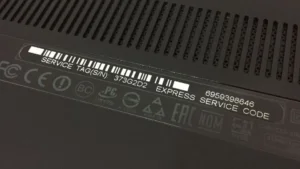
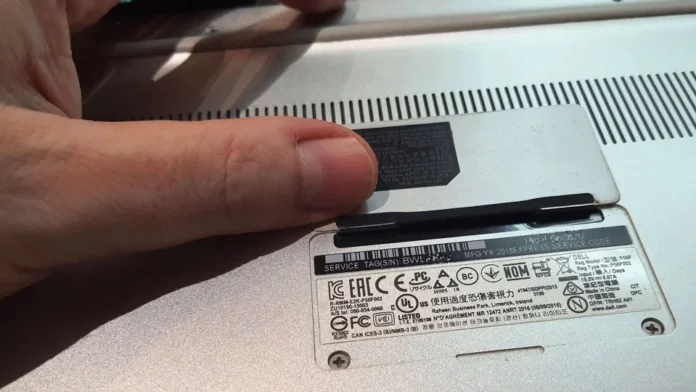
The laptop’s serial number is usually found on a sticker located on the bottom of the laptop or in the battery compartment. Here’s how you can find it:
- Turn off the laptop and disconnect it from the power source;
- Turn the laptop over and look at the bottom. Look for the product information sticker. It usually indicates the laptop model, its serial number (S/N or SN) and other data;
- If you don’t see the sticker on the bottom of the laptop, check the battery compartment. Some manufacturers place a product information sticker inside the battery compartment;
- Write down the serial number.
Method No. 5: About the system

In Windows 11, you can use the About section to view the serial number of your laptop or PC (if it’s a factory build). How to find out the serial number of a laptop Or PC
- Click “Start”, select “Settings”;
- In the window that appears on the left, select “System”;
- Find the Windows Features section and look at your laptop’s serial number.
Use the methods above to find out the serial number of your laptop.
Also Read: How to find out your laptop model
Also Read: How to download games on laptop and PC


